How to Integrate a Node.js app with Slack

Thomas Bailey
Marketing
One of the most useful ways to use Slack is to dedicate a channel specifically for events and notifications. Teams can get easily informed when something happens and react accordingly. This could be new user signups, when a potential customer requests information or when certain criteria are fulfilled in a database.
We will create a simple Node.js on the Divio platform and use it to send notifications to a Slack channel. Before proceeding, you will need to create a free account on Divio which we will use to deploy our Node.js app.
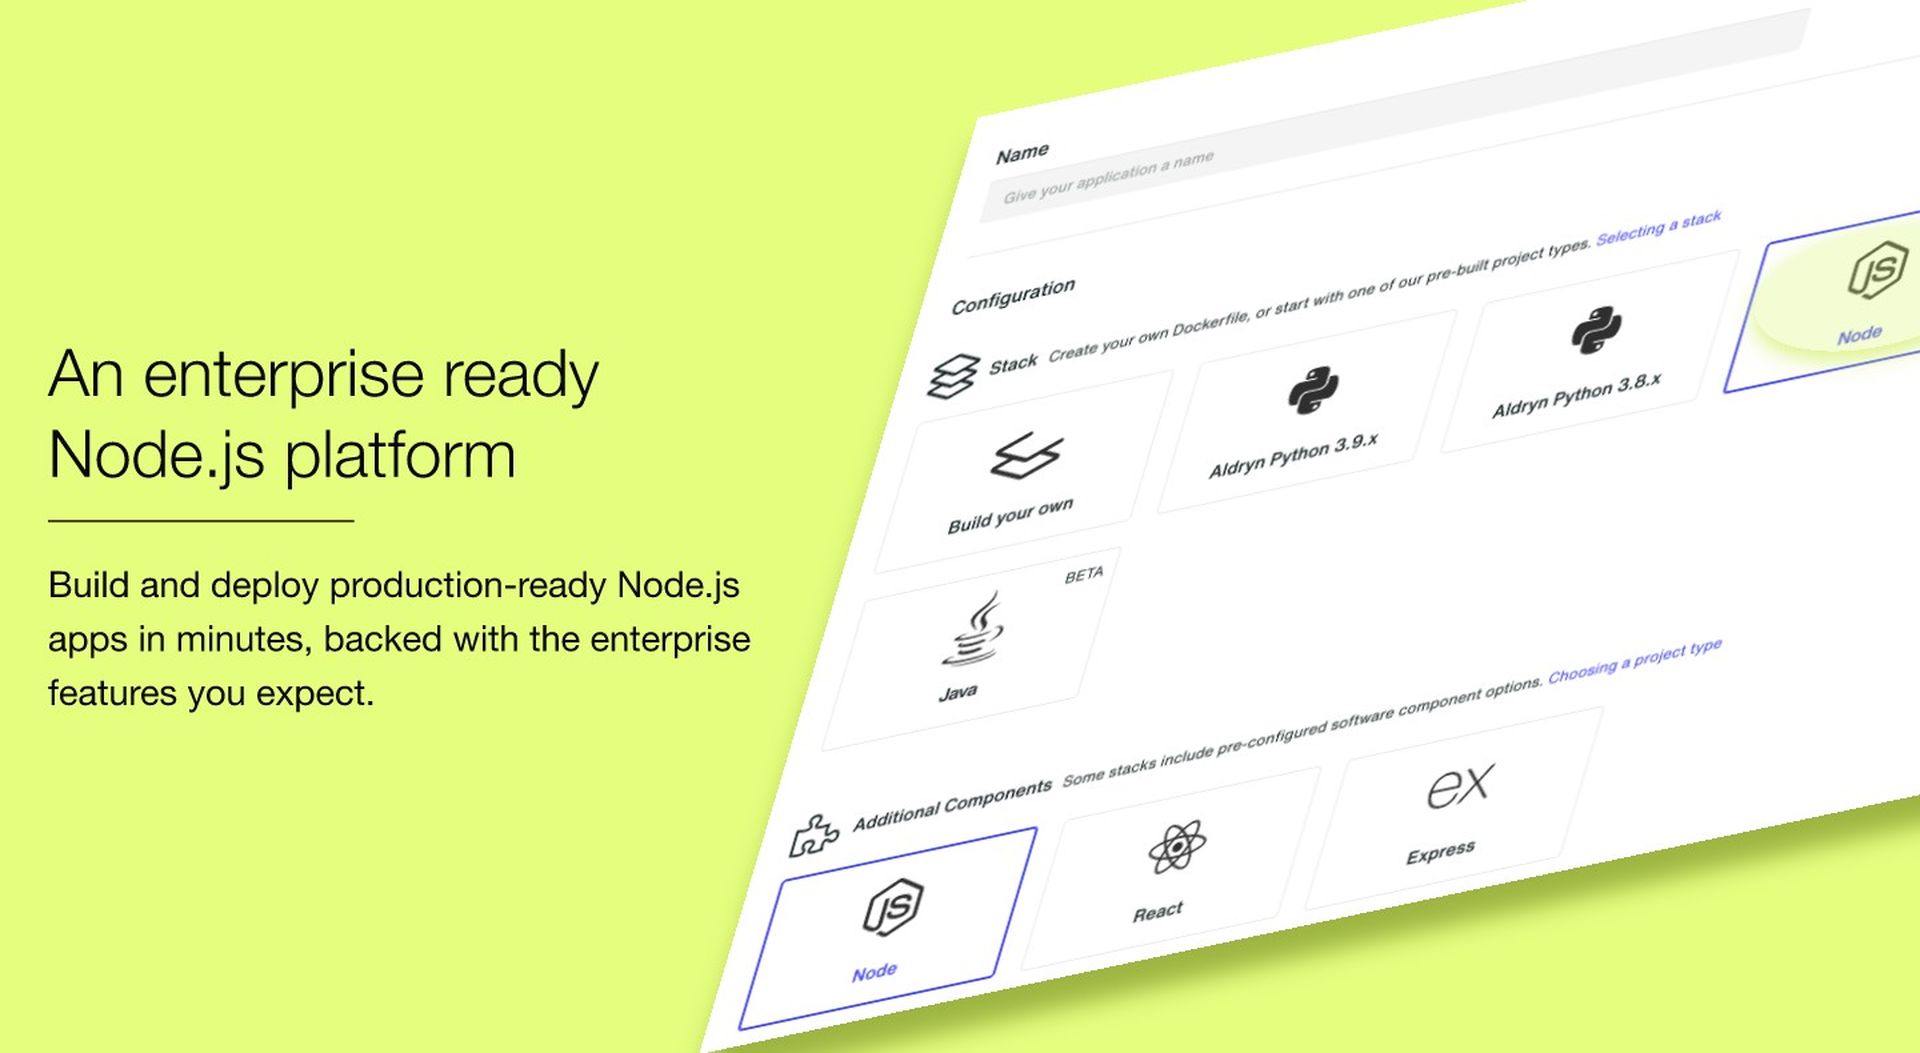
The Divio platform includes a preconfigured Dockerfile for a Node.js stack which we can use to get started quickly.
Requirements for Integrating a Node.js app and Slack
This tutorial assumes you have Python installed and Pip, the Python package manager. We will use Pip to install the Divio CLI, a Python-based command line application. You will also need Postman or cURL to invoke our app endpoint.
You can quickly check that Python is installed with the command python3 -m pip --version
We can install the Divio CLI using pip3 install divio-cli
Note that you might use python, python3, pip or pip3 commands interchangeably depending on your environment.
Once the Divio CLI is installed, you may want to add it to your path for convenience. During the installation process, the installation script will suggest the path to add.
Mac OS: by default, the Divio CLI will be installed for the current user at Library/Python/3.9/bin
You could then add the following to your path
export PATH=$PATH:/Users/<your username>/Library/Python/3.9/bin
Steps to get Docker Desktop Set Up
With the Divio CLI installed, we can use the built-in divio doctor command to check our development environment. If you have not installed Docker before, you will see numerous warnings that Docker components could not be found.
The Divio CLI orchestrates Docker Desktop to run containers locally and provide a consistent environment between local development and the cloud. Everything is run within a container both locally and on the cloud, meaning your local and cloud environments are the same.
You can install Docker Desktop according to your operating system at https://docs.docker.com/desktop.
With Docker Desktop installed, we can run divio doctor again to confirm the Divio CLI is able to use it. Docker Desktop includes built-in tools to help with getting started and troubleshooting.
Divio CLI ensures your environment is kept secure by using a login token – your credentials are never stored locally. Run the command divio login, which will open a browser and then proceed to copy and paste the access token.
Finally, you can run divio doctor to verify we are ready to start developing. The Divio CLI provides a convenient wrapper around the most commonly used Docker commands.
Creating a Node.js Project
With the Divio CLI installed, we can proceed to create our Node.js app using the Divio Control Panel.
Give your project a suitable name and select the Node.js stack and Express framework addon to give us a useful barebones project to work with. The Divio platform will provide your application with a default test and live environment, ready to use.
 In order to start working on our app, we need a local copy. During the creation process, a Git repo was automatically created for us by the Divio platform.
Before we can access it, we need to provide a public SSH key.
Creating SSL keys is beyond the scope of this tutorial, and you can find out how to create a key with the extensive Github documentation.
If you don't already have an SSH key, you can create a new one by running ssh-keygen -o command. Assuming default naming is used, run cat ~/.ssh/id_rsa.pub to show the newly created public key. This public key needs to be added to the Divio Control Panel in order to provide access to the freshly created Git repo containing your project.
You can find your SSH keys collection under your account view where it should be added.
 Once the key is installed, we can grab the project locally by running
 divio app setup <your app name>
This may take a few minutes to complete while container images are automatically downloaded, deployed and configured for you.
Once the Divio CLI has set up your project, move to the working directory and launch the app with divio app up. Since we chose the Express framework, we already have some endpoints to test with. Open the browser to http://localhost:8000 for the default Express framework greeting.
During the setup, the Divio CLI provisioned a container for our web app and also a Postgres database. You can see the two containers, “web” with our Node.js project and “db” with the Postgres database, running in Docker with the docker container ls command.
Adding an Endpoint For Your Slack and Node.js Integration
In order to have something to post to Slack, we will add a new endpoint that takes a JSON payload and sends it to our Slack channel.
We first need two additional Node.js packages, body-parser, to access the body of a POST and Axios, a lightweight HTTP client that we will use to invoke a Slack webhook.
npm install body-parser
npm install axios
We will add a new router for handling our POST request. Open the app.js file and add the following lines:
var createError = require("http-errors");
var express = require("express");
var path = require("path");
var cookieParser = require("cookie-parser");
var bodyParser = require('body-parser');
var logger = require("morgan");

var indexRouter = require("./routes/index");
var usersRouter = require("./routes/users");
var callbackRouter = require("./routes/callback");

var app = express();

// view engine setup
app.set("views", path.join(__dirname, "views"));
app.set("view engine", "jade");

app.use(logger("dev"));
app.use(express.json());
app.use(bodyParser.json());
app.use(express.urlencoded({ extended: false }));
app.use(cookieParser());
app.use(express.static(path.join(__dirname, "public")));

app.use("/", indexRouter);
app.use("/users", usersRouter);
app.use("/callback", callbackRouter);
Creating a Slack Webhook
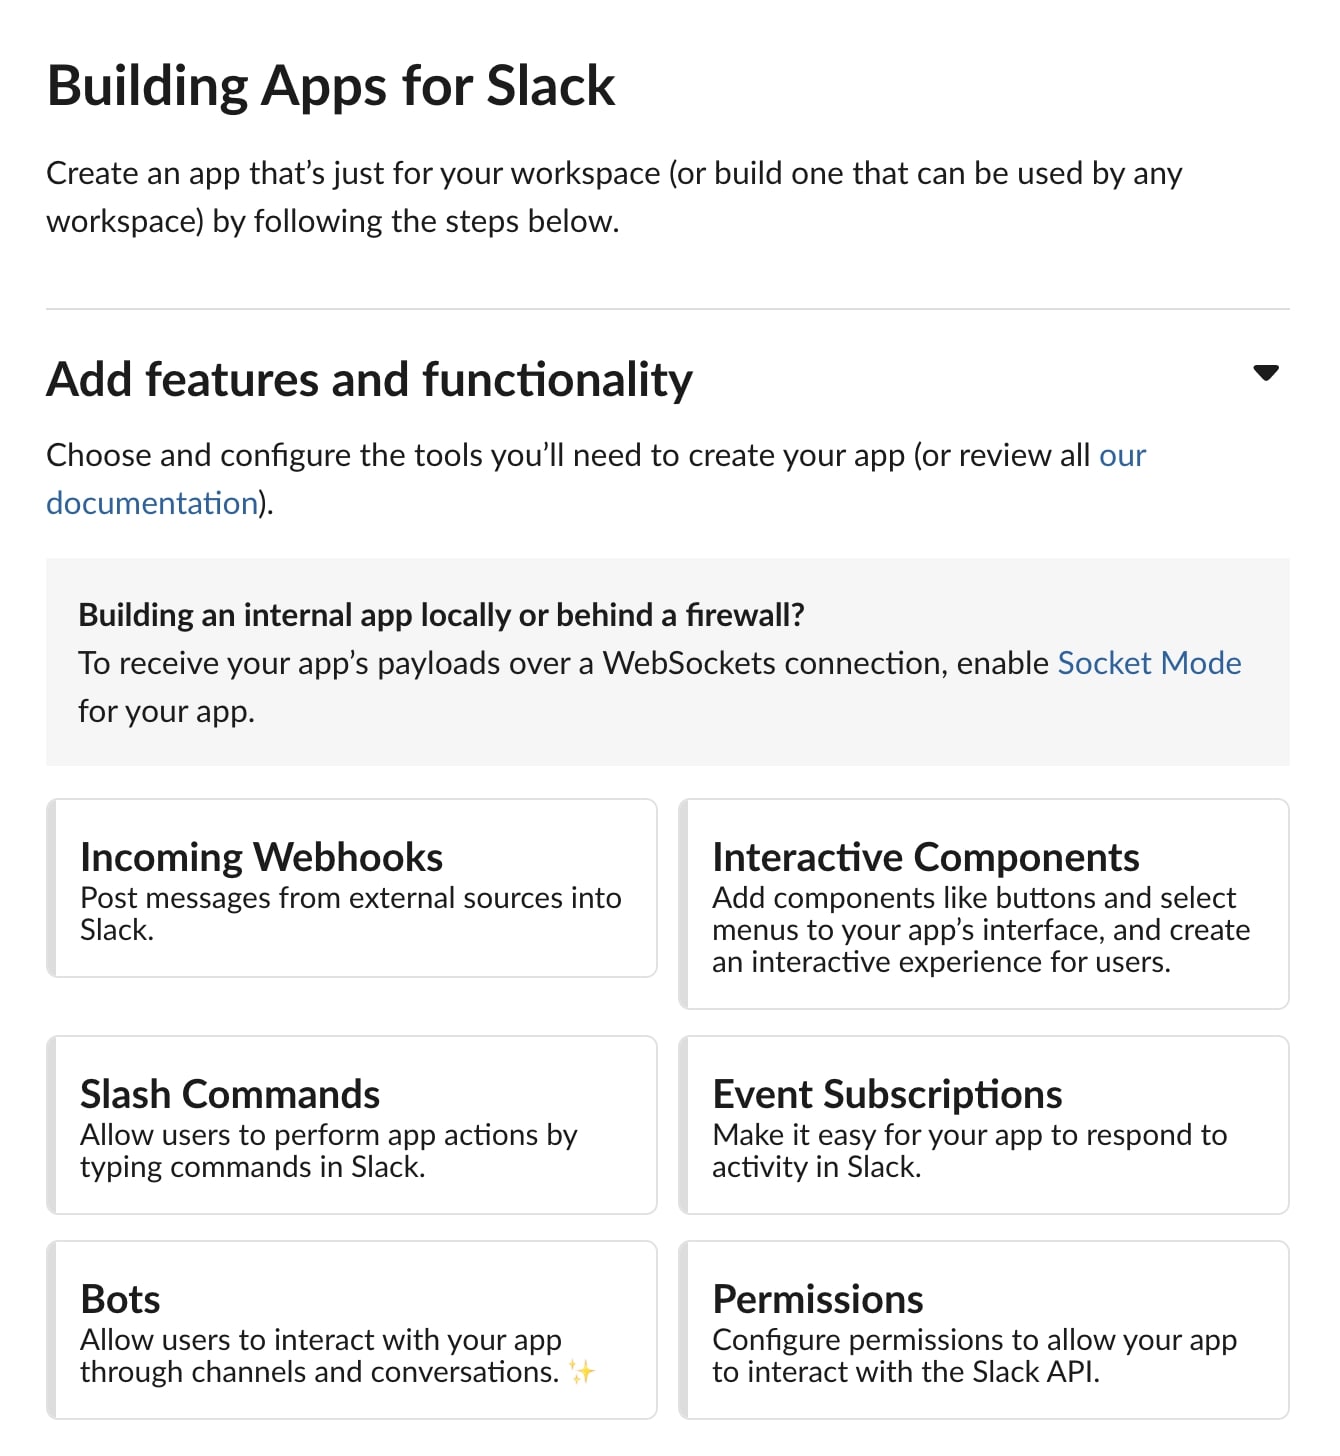
In order to post to Slack, we first need to create a new Slack app and obtain a webhook URL and add our app to the channel where we want to share information. Choose “Incoming webhooks” as an app feature from the Slack developer interface.
Note: you may need a Slack administrator to do this on your behalf, depending on your credentials.
 Stepping through the creation process, the resulting webhook URL should be stored carefully and, following best practices, only be stored as an environmental variable.
Create a local environment file in the root of your application with .touch .env-local
We can add the Slack URL accordingly to the .env-local file.
SLACK_WEBHOOK=<your unique URL>Next, we add the following to the docker-compose.yml to tell Docker to use the environment variable file and run docker compose build to add it to the web container.
  services:
    web:
      build: .
      links:
        - "db:postgres"
      # Change the port if you'd like to expose your project
      # locally on a different port, for example if you already
      # use port 8000 for something else.
      ports:
        - "8000:80"
      volumes:
        - ".:/app:rw"
        - "./data:/data:rw"
      # The default command that the container starts with.
      # If you'd like to run the project locally in Live
      # configuration, you will need to change this.
      # See https://docs.divio.com/en/latest/how-to/local-in-live-mode.html.
      #command: sh ./wait-for db:5432 -- npx nodemon --exec npm start
      #command: sh ./wait-for 0.0.0.0:5432
      env_file: .env-local
We can now access the SLACK_WEBHOOK variable from Node.js in the usual way process.env.SLACK_WEBHOOK
Note that when deploying the app to the Divio platform, you should also set this environment variable in the Divio Control Panel since docker-compose.yml is not used when deploying to the cloud. By doing so, we keep consistent environmental variables between the cloud and the local development environment.
Final Steps for Your Slack and Node.js Integration
Finally, we will create our new callback router. Move to /myapp/routes directory and create a new file to work with .touch callback.js
var express = require('express');
var router = express.Router();
var axios = require('axios');

const slackWebhook = process.env.SLACK_WEBHOOK

router.post('/', async function(req, res, next) {
  const body = req.body

  try {
    await axios.post(slackWebhook, {
      text: 'test'
    });
    res.sendStatus(200)
  } catch (error) {
    console.error(error);
    res.sendStatus(400)
  }
});

module.exports = router;
Run docker compose build followed by divio app up to launch our new app. You can test it by sending a JSON body to the new end-point.
curl -X POST "http://localhost:8000/callback/slack" -H
'Content-Type: application/json' -d '{"text": "hello"}'
As a final step, we then simply deploy our new app to the Divio Cloud and our test environment by running divio app deploy test - going from local development to the cloud in a few seconds.
Where to Go From Here
In this example, we created a very basic app to post to a Slack channel and deployed it to the cloud, without making any changes for cloud deployment.
You could use cron jobs from Divio Control Panel to periodically query a database and post relevant new data or use the endpoint with other applications that provide callbacks, for example, when a user posts a web form.
Easily Deploy Node.js Apps to the Cloud
The Divio platform includes support for Node.js, providing enterprise-grade multi-cloud hosting and powerful developer tools. Teams can move seamlessly from local development to preconfigured cloud-based environments using one consistent command line tool.
Contact us to learn more.