Continuous Delivery and Automated Deployments with GitHub Actions

Mebrahtu Zemui Tesfazghi
Community Manager
Continuous Integration and Continuous Delivery (CI/CD) are critical elements in modern software development, forming a pipeline that enables automated testing and reliable delivery — and optionally deployment — of software, often with minimal manual intervention.
A CI/CD pipeline delivers plenty of value for developers – it speeds up feature delivery and iteration by providing fast feedback on the outcome of code changes, and allows developers to focus on writing code.
GitHub Actions provide an excellent solution for getting started with CI/CD without needing to establish separate infrastructure. Developers can set up a full-featured CI/CD pipeline alongside their GitHub repository, and can take advantage of a diverse selection of integrations and tools via the GitHub Marketplace.
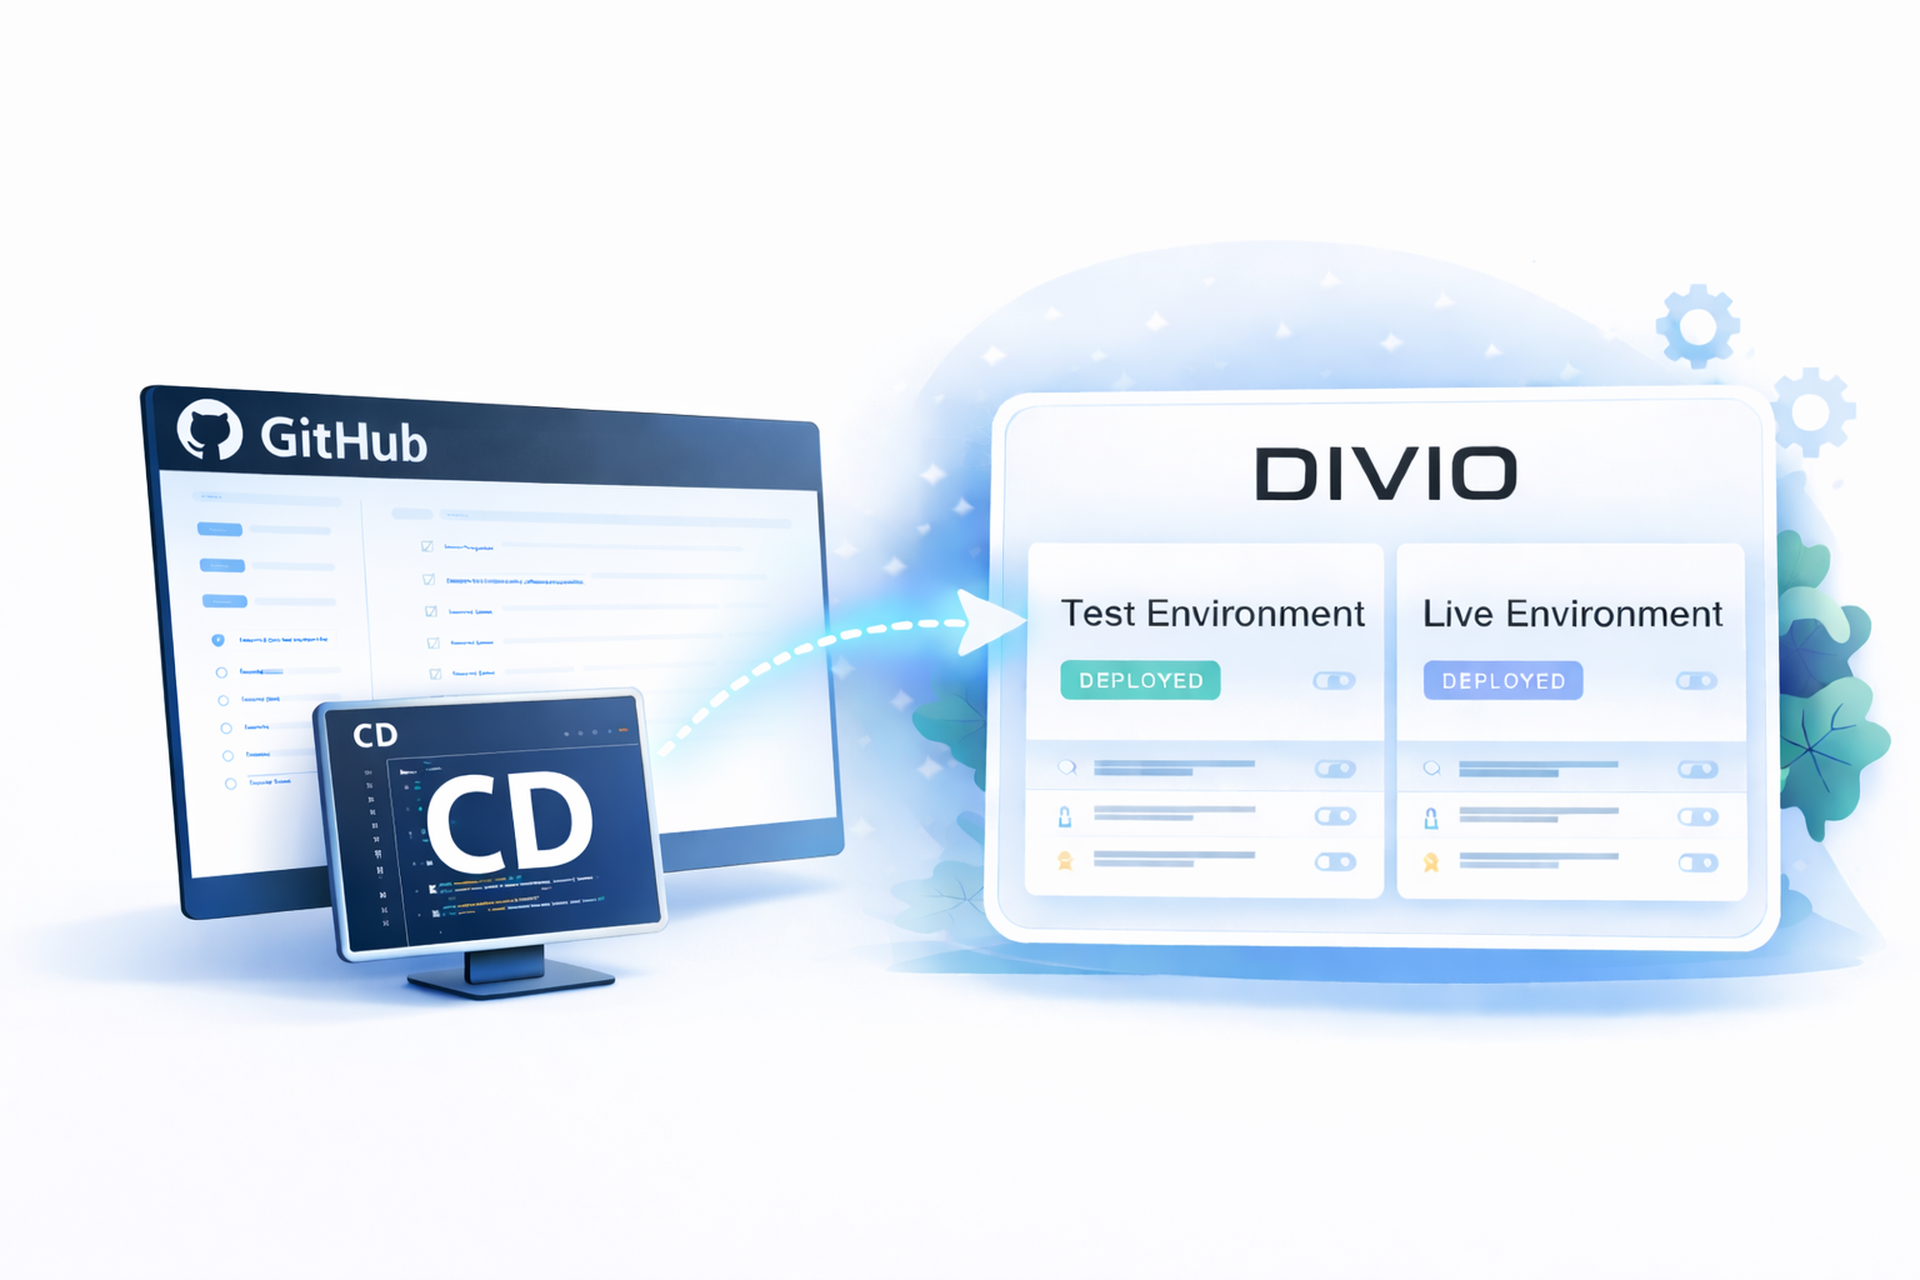
Since Divio applications can integrate directly with GitHub, they can also take advantage of the benefits of CI/CD. Pull requests are deployed to a test environment and their deployment outcome is verified before changes are approved and promoted.
In this article, we will:
create a Divio application, with source code stored in a GitHub repository
configure a GitHub Actions workflow that deploys pull requests to a test (development) environment and validates the deployment before promoting approved changes to live (production).
Prerequisites
This article assumes the user is familiar with Git, GitHub, and the basics of the Divio platform. It will also be helpful to be familiar with GitHub Actions and some basic terms and principles of CI/CD. For the example application, Node.js and npm will need to be installed, but any language or framework that can run in a Docker container and return HTTP responses will suffice.
It’s also necessary to have a GitHub account configured with an SSH key, and have a Divio account. (If you're new to Divio, let's talk!)
A note on Continuous Delivery vs. Continuous Deployment
The terms “continuous delivery” and “continuous deployment” are often used interchangeably to refer to the “CD” in “CI/CD”. However, they actually refer to meaningfully different behaviors in how software is deployed to live environments. Continuous delivery is the actual term that CD refers to; it represents a workflow where new code changes are continuously delivered to a target environment, but not deployed. This distinction is important: code is staged for deployment, but requires some manual intervention or external trigger to proceed with an actual deployment. Conversely, continuous deployment refers to a workflow where any code changes or features that pass automated testing are automatically deployed to the target environment without intervention.
In this article, we’ll be using a form of continuous delivery: pull requests will automatically deploy new code to the test environment in Divio. Once the PR is approved and merged, an automated deployment to the live environment is triggered.
Create a GitHub repository
Start by creating a new repository on GitHub. This will hold the codebase for the Divio application and is where the GitHub Actions workflow will be configured. For the sake of example, this article uses a very basic Next.js example site running in a Docker container. The name of the repository doesn’t matter; as long as it is considered valid by GitHub.
After it’s created, clone it locally to your development machine and enter the directory.
git clone <your-repository-url>
cd <repository-name>
Create the application locally
Bootstrap a minimal Next.js application:
npx create-next-app@latest . --js --no-tailwind --no-eslint --yesCreate a Dockerfile
Next, create a Dockerfile in the root of the repository:
# Dockerfile

# Set the base image
FROM node:20-alpine

# Set the working directory
WORKDIR /app

# Copy package.json and package-lock.json
COPY package*.json ./

# Install dependencies
RUN npm install

# Copy the rest of your app's source code
COPY . .

# Build the app
RUN npm run build

# Expose the port
EXPOSE 3000

# Start the app
CMD ["npm", "start"]
Test locally
Build and launch the container to test it:
$ docker build -t <application-name> .
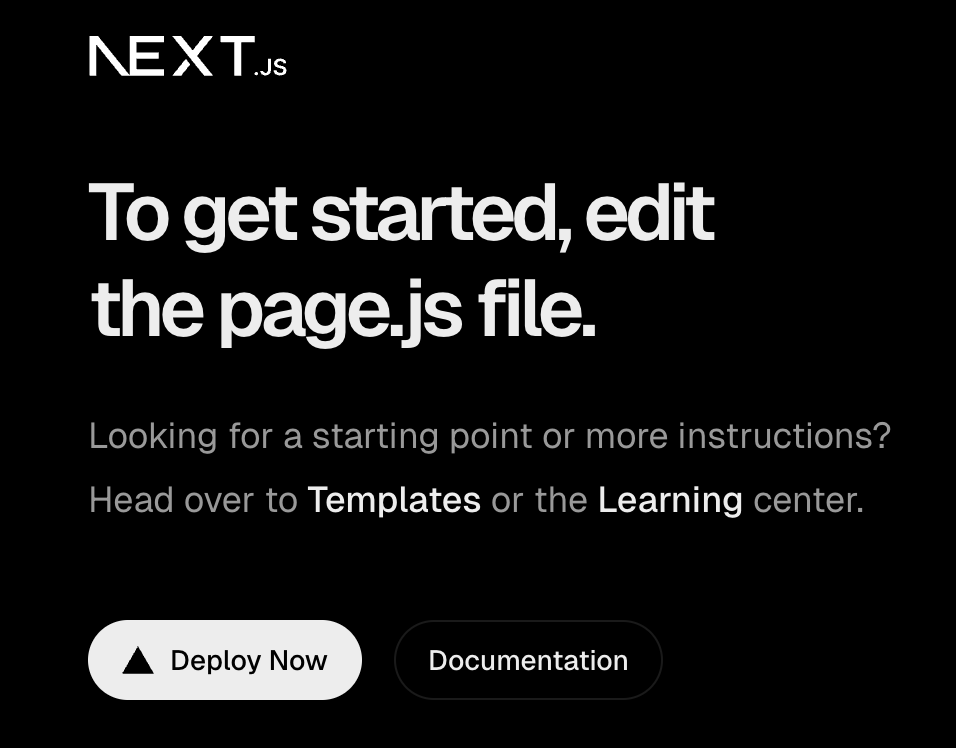
$ docker run -p 3000:3000 <application-name>Assuming everything completed successfully, the following should load at http://localhost:3000 in a browser window:
 At this time, commit and push your changes.
With the application and Dockerfile now present in the repository, the next step will be to create a Divio application and connect it to this repository.
Create a Divio application
In the Divio Control Panel, create a new application. Select:
I already have a git repository
Provide a git URL and click Next
Provide your GitHub repository SSH URL (the clone URL)

Branch: keep the default main and click Continue.
Divio will then generate an SSH key and show instructions for adding it to GitHub as a Deploy Key.
In GitHub, add the key:
Repository → Settings → Deploy keys → Add deploy key
Paste the key provided by Divio
Enable Allow write access
Add Key
Return to Divio and click Continue.
Divio will run a test git pull to confirm it can access the repository. Once that completes successfully, continue to:
Provide a name for the application.
Select a subscription for your application. For tutorial purposes, choose Lite (30-day Free Trial) → Silver → Standard
Choose your region (North America or European Union).Click Create Application to proceed.
Set up a webhook
A webhook allows GitHub to send a signal to the Divio Control Panel when the repository is updated.
In your Divio application's Repository view, go to Webhooks and choose Add webhook.
Copy the Webhook URL and the Webhook shared secret to be added to the GitHub repository.
In your GitHub repository, go to the repository's Settings > Webhooks > Add webhook, and:
Add the Webhook URL to the Payload URL field
Leave the Content type field as is
Add the Webhook shared secret to the Secret field
Select Just the Push event and hit Add webhook.
The GitHub repository is now properly configured to communicate with the Divio Control Panel.
Collect environment-specific information from the Divio application
This step will require using a Divio Access Token to make direct calls to the Divio API. Initially, the calls will be to get some information about the application's environments. This information will later be used in the GitHub Actions workflows.
Two items are needed:
The Divio Access Token. It can be obtained from the account settings in the Divio Control Panel.
The application slug, which can be found in the Divio Control Panel by opening the Application dropdown and locating the Slug field in the Application section, displayed next to the application name.
The first step is to create environment variables for these two values:
$ export API_TOKEN=<divio_access_token_value>$ export APPLICATION_SLUG=<application_slug>
To obtain the environment UUIDs, we first need to retrieve the Application UUID, which we can do using the application slug.
The following API calls use curl and require jq to parse JSON responses. Both are commonly available in most development environments.
Now, query the API and export the Application UUID:
export APPLICATION_UUID=$(curl -s "https://api.divio.com/apps/v3/applications/?slug=$APPLICATION_SLUG" -H "Authorization: Token $API_TOKEN" | jq -r '.results[0].uuid')Finally, retrieve and export the Test and Live environment UUIDs using the Application UUID:
export TEST_ENVIRONMENT_UUID=$(curl -s "https://api.divio.com/apps/v3/environments/?application=$APPLICATION_UUID" -H "Authorization: Token $API_TOKEN" | jq -r '.results[] | select(.slug=="test") | .uuid')export LIVE_ENVIRONMENT_UUID=$(curl -s "https://api.divio.com/apps/v3/environments/?application=$APPLICATION_UUID" -H "Authorization: Token $API_TOKEN" | jq -r '.results[] | select(.slug=="live") | .uuid')In the next step, these values will be stored as GitHub repository secrets for use in the deployment workflow.
Configure the GitHub Actions workflow
With the environment UUIDs, the deployment workflow for GitHub Actions can now be configured.
Set the secret credentials
Note: The Divio Access Token is a sensitive credential that provides access to your Divio account. It should never be exposed publicly or stored in plaintext. GitHub offers a secure way to store credentials in repository settings.
It is also good practice to store other values, such as environment UUIDs, as repository secrets.
In the GitHub repository, go to:
Settings > Security > Secrets and variables > Actions
Click New repository secret, then:
Add each of the following values:
API_TOKEN(the Divio access token)TEST_ENVIRONMENT_UUIDLIVE_ENVIRONMENT_UUID
After entering each value, click Add secret to save it.
Configure the YAML files
GitHub automatically runs YAML files placed in the .github/workflows/ directory as Actions workflows (assuming they are configured correctly). To implement Continuous Delivery, we will use two separate workflow configurations: one for the test environment and one for the live environment.
Run the following commands in the root of the repository:
$ mkdir -p .github/workflows$ touch .github/workflows/{test,live}.yml
This creates the GitHub Actions configuration directory and the empty test.yml and live.yml workflow files.
Before adding the workflow configuration, it is helpful to understand how the workflows behave and what their objectives are:
The test workflow runs whenever a pull request targets the default branch (
main).
It checks out the pull request branch, points the Divio test environment to that branch, and triggers a deployment via the Divio Deployments API. This ensures that every proposed change can be reviewed in a cloud environment before being merged. In addition, the workflow waits for the deployment to complete and verifies its outcome. If the deployment fails, the workflow itself fails, providing immediate feedback directly in the pull request. This allows developers to assess whether a change is healthy before merging, turning the test environment into a reliable validation step rather than just a deployment trigger.The live workflow runs only when a pull request is closed and merged into
main.
When this happens, it resets the Divio test environment back to themainbranch and triggers a deployment to the live environment using the Divio Deployments API. Importantly, if a pull request is closed without being merged, no deployment to the live environment occurs.
All of this happens automatically.
The following is the configuration for the test workflow, test.yml:
name: Deploy Test

on:
  pull_request:
    branches:
      - main

permissions:
  contents: read

concurrency:
  group: divio-test-environment
  cancel-in-progress: true

jobs:
  deploy:
    name: Deploy
    runs-on: ubuntu-latest
    timeout-minutes: 25

    steps:
      - name: Checkout repo
        uses: actions/checkout@v3

      - name: Point Divio Test environment to PR branch
        run: >
          curl -sS --fail -X PATCH
          --data "branch=${{ github.head_ref }}"
          --header "Authorization: Token ${{ secrets.API_TOKEN }}"
          https://api.divio.com/apps/v3/environments/${{ secrets.TEST_ENVIRONMENT_UUID }}/

      - name: Deploy test application
        env:
          API_TOKEN: ${{ secrets.API_TOKEN }}
          TEST_ENVIRONMENT_UUID: ${{ secrets.TEST_ENVIRONMENT_UUID }}
        run: |
          set -euo pipefail

          # Trigger deployment and capture UUID
          DEPLOY_UUID=$(curl -sS --fail -X POST \
            --data "environment=${TEST_ENVIRONMENT_UUID}" \
            --header "Authorization: Token ${API_TOKEN}" \
            https://api.divio.com/apps/v3/deployments/ \
            | jq -r '.uuid')

          if [ -z "${DEPLOY_UUID}" ] || [ "${DEPLOY_UUID}" = "null" ]; then
            echo "Failed to start test deployment (no UUID returned)."
            exit 1
          fi

          echo "Started test deployment: ${DEPLOY_UUID}"

          # Poll until success is true/false (non-null)
          for i in {1..120}; do
            RESP=$(curl -sS --fail \
              --header "Authorization: Token ${API_TOKEN}" \
              "https://api.divio.com/apps/v3/deployments/${DEPLOY_UUID}/")

            STATUS=$(echo "$RESP" | jq -r '.status // empty')
            SUCCESS=$(echo "$RESP" | jq -r '.success')

            echo "Test deployment status: ${STATUS:-unknown}"

            if [ "$SUCCESS" = "true" ]; then
              echo "Test deployment succeeded."
              exit 0
            fi

            if [ "$SUCCESS" = "false" ]; then
              echo "Test deployment failed. Check Divio deployment logs for UUID: ${DEPLOY_UUID}"
              exit 1
            fi

            sleep 10
          done

          echo "Timed out waiting for test deployment ${DEPLOY_UUID}"
          exit 1
Next, the live workflow, live.yml:
name: Deploy Live

on:
  pull_request:
    types: [closed]
    branches:
      - main

permissions:
  contents: read

jobs:
  deploy:
    name: Deploy
    if: github.event.pull_request.merged == true
    runs-on: ubuntu-latest
    timeout-minutes: 25

    steps:
      - name: Checkout repo
        uses: actions/checkout@v3

      - name: Reset Divio Test environment branch to main
        run: >
          curl -sS --fail -X PATCH
          --data "branch=main"
          --header "Authorization: Token ${{ secrets.API_TOKEN }}"
          https://api.divio.com/apps/v3/environments/${{ secrets.TEST_ENVIRONMENT_UUID }}/

      - name: Deploy live application
        env:
          API_TOKEN: ${{ secrets.API_TOKEN }}
          LIVE_ENVIRONMENT_UUID: ${{ secrets.LIVE_ENVIRONMENT_UUID }}
        run: |
          set -euo pipefail

          # Trigger deployment and capture UUID
          DEPLOY_UUID=$(curl -sS --fail -X POST \
            --data "environment=${LIVE_ENVIRONMENT_UUID}" \
            --header "Authorization: Token ${API_TOKEN}" \
            https://api.divio.com/apps/v3/deployments/ \
            | jq -r '.uuid')

          if [ -z "${DEPLOY_UUID}" ] || [ "${DEPLOY_UUID}" = "null" ]; then
            echo "Failed to start live deployment (no UUID returned)."
            exit 1
          fi

          echo "Started live deployment: ${DEPLOY_UUID}"

          # Poll deployment status until completion
          for i in {1..120}; do
            RESP=$(curl -sS --fail \
              --header "Authorization: Token ${API_TOKEN}" \
              "https://api.divio.com/apps/v3/deployments/${DEPLOY_UUID}/")

            STATUS=$(echo "$RESP" | jq -r '.status // empty')
            SUCCESS=$(echo "$RESP" | jq -r '.success')

            echo "Live deployment status: ${STATUS:-unknown}"

            if [ "$SUCCESS" = "true" ]; then
              echo "Live deployment succeeded."
              exit 0
            fi

            if [ "$SUCCESS" = "false" ]; then
              echo "Live deployment failed. Check Divio deployment logs for UUID: ${DEPLOY_UUID}"
              exit 1
            fi

            sleep 10
          done

          echo "Timed out waiting for live deployment ${DEPLOY_UUID}"
          exit 1
Since these workflows are triggered by pull requests targeting the default branch, they need to be present in the repository’s main branch to be executed.
Commit and push these workflow files to the main branch so they are available for the pull request–based deployment steps that follow.
With this, the Continuous Delivery workflow is now fully configured.
The remaining step is to validate that it behaves as expected by triggering deployments through a pull request.
Testing the Continuous Delivery workflow
The final step is to actually make a change to the application, and validate that the continuous delivery pipeline functions as expected.
Create a new local branch and switch to it.
Make a quick change to the
app/page.jsfile. For example, replace the main text displayed on the page — “To get started, edit the page.js file.” — with “CI/CD pipeline test successful!”.Commit the change and push it, creating a remote copy of the local branch.
Go to the GitHub repository and open a pull request against the
mainbranch.
Once the pull request is opened, the test workflow should be triggered automatically. After it completes successfully, visit the Divio Control Panel to confirm that the application has been deployed to the test environment.
If everything looks good, merge the pull request. Once it merges, the live workflow should be triggered automatically, deploying the application to the live environment.
Conclusion
This article demonstrated how Divio can be used with GitHub and GitHub Actions to build a CI/CD pipeline that supports automated testing and controlled delivery of software applications.
While this implementation focuses on Continuous Delivery — where changes are reviewed before promotion to the live environment — the same workflow can be adapted for fully automated Continuous Deployment when required.
If Continuous Deployment is preferred, the workflow can be adjusted by triggering deployments on push events rather than pull request–based events. For example, replacing:
on:
  pull_request:
with:
on:
  push:
will automatically deploy changes to the environments without requiring a pull request or a merge.
Beyond this example, GitHub Actions provides extensive flexibility to extend CI/CD workflows further. For instance, teams could introduce additional testing or linting steps before deployment, or dynamically create and remove temporary environments for specific branches.
Ultimately, combining Divio with GitHub Actions enables teams to automate their delivery process while retaining full control over how and when changes reach production — all without managing deployment infrastructure.
For further reading refer to: How to use the Divio API and GitHub Actions Documentation.
Interested to learn more about the Divio PaaS and how it can support your web applications? Let's talk!
Keep up-to-date with us on LinkedIn and X/Twitter. Here, we share exclusive insights, company news, and more!