Deploy Docker Containers to the Cloud with Deno

Thomas Bailey
Marketing
Deno is a framework created by Ryan Dahl, who also created Node.js. It is intended to offer some important improvements, including a fresh approach to package management and a more secure runtime environment.
While Divio includes useful template projects for several popular frameworks and runtimes, we can use Deno to learn how to deploy a container to Divio that we can create ourselves – without having a template project. You can use the same approach to deploy container-based technologies to the Divio Cloud, making it possible to easily migrate your existing legacy apps and tailor the Divio platform to your needs.
We will create a minimal Deno app locally, a simple web server that responds to an HTTP request, and then deploy it to the Divio Cloud to start serving public web traffic.
Before We Get Started
This tutorial assumes you have Python installed and Pip, the Python package manager. We will use Pip to install the Divio CLI, a Python-based command line application. You will also need Postman or cURL to invoke our app endpoint.
You can quickly check that Python is installed with the command python3 -m pip --version
We can install the Divio CLI using pip3 install divio-cli
Note that you might use python, python3, pip or pip3 commands interchangeably depending on your environment.
Once the Divio CLI is installed, you can conveniently add it to your path. The installation script will suggest the path to add during the installation process.
Mac OS: by default, the Divio CLI will be installed for the current user at Library/Python/3.9/bin
You could then add the following to your path
export PATH=$PATH:/Users/<your username>/Library/Python/3.9/binWith the Divio CLI installed, we can use the built-in divio doctor command to check our development environment. If you have not installed Docker before, you will see numerous warnings that Docker components could not be found.
The Divio CLI orchestrates Docker Desktop to run containers locally and provide a consistent environment between local development and the cloud. Everything is run within a container both locally and on the cloud, meaning your local and cloud environments are the same.
You can install Docker Desktop according to your operating system at https://docs.docker.com/desktop.
With Docker Desktop installed, we can run divio doctor again to confirm the Divio CLI is able to use it. Docker Desktop includes built-in tools to help with getting started and troubleshooting.
Divio CLI ensures your environment is secure using a login token – your credentials are never stored locally. Run the command divio login, which will open a browser and then proceed to copy and paste the access token.
Finally, you can run divio doctor to verify we are ready to start developing. The Divio CLI provides a convenient wrapper around the most commonly used Docker commands.
Creating an Empty Project
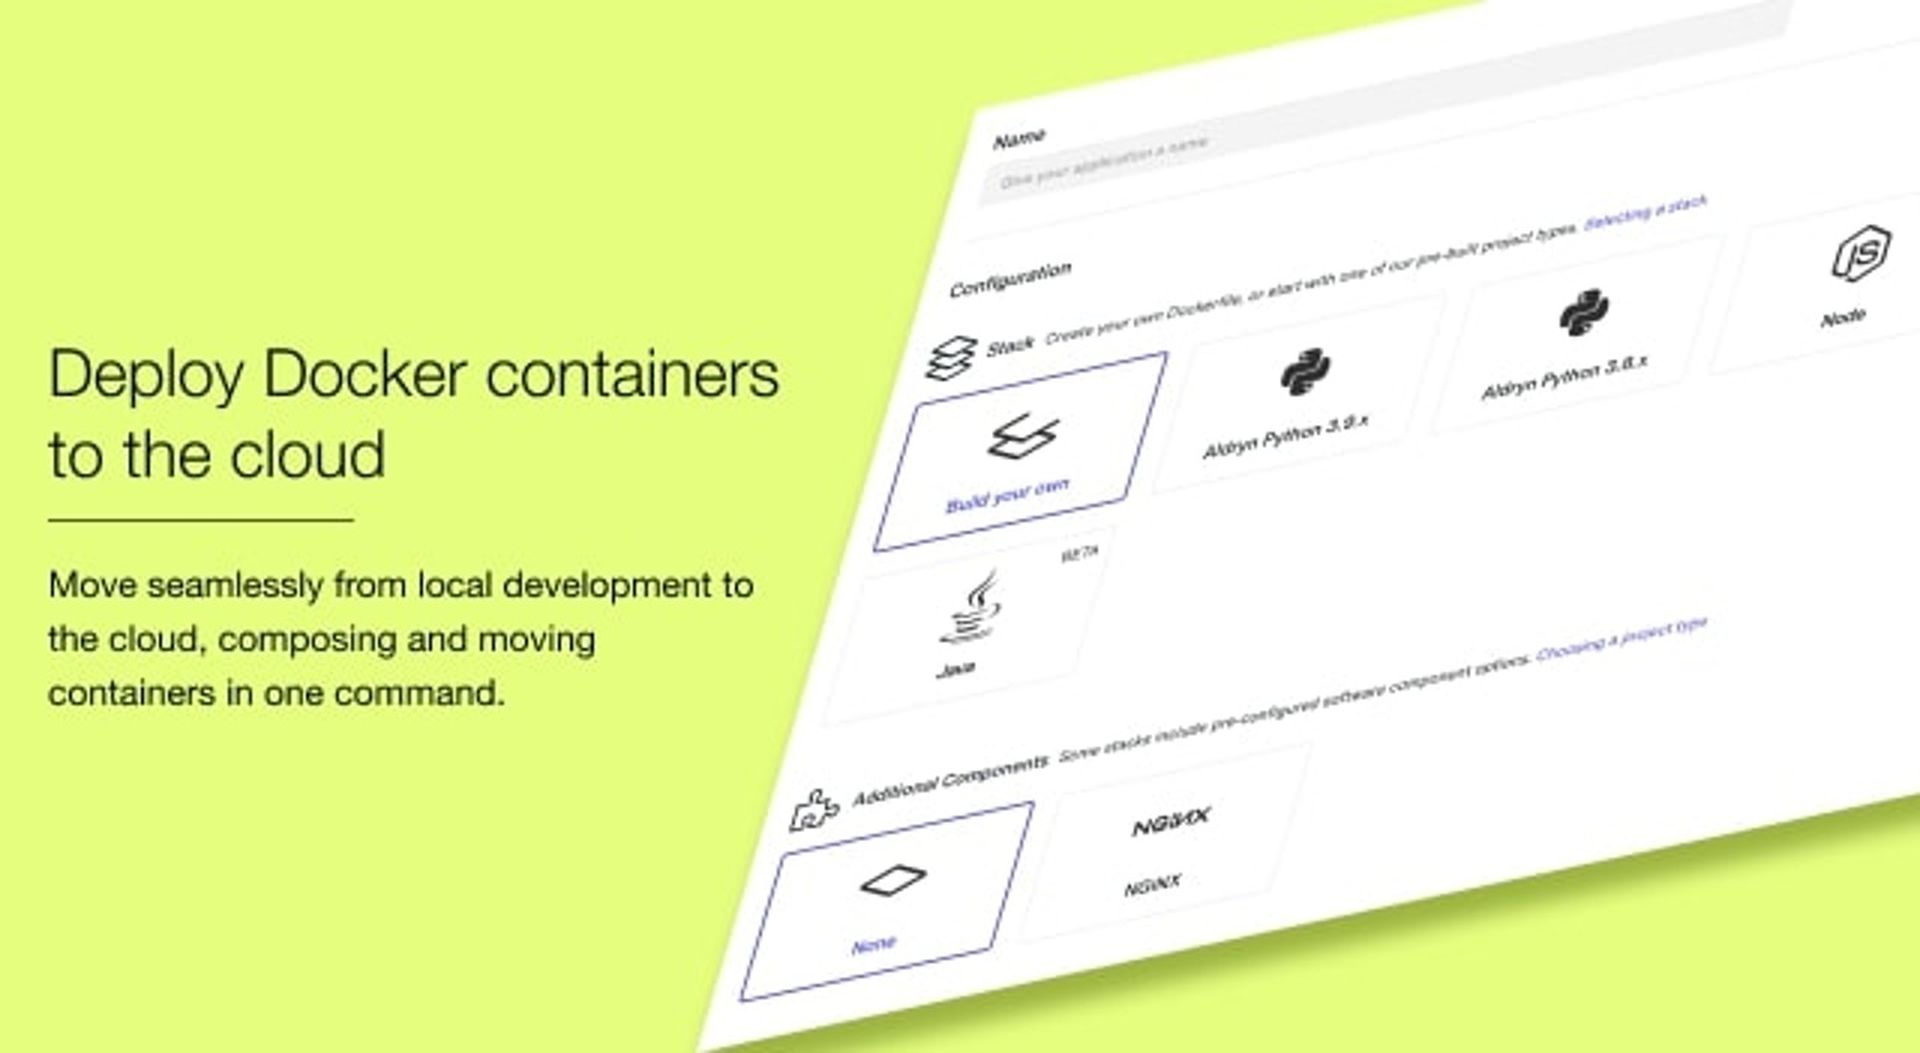
We can start by creating an empty project in the Divio Control Panel, choosing a suitable name and selecting “Build your own” as our starting stack and “None” as our additional components and boilerplates.
 The Divio platform will provide your application with a default test and live environment, ready to use. For this example, we are using the name “deno demo”.
 In order to start working on our app, we need a local copy. During the creation process, a Git repo was automatically created for us by the Divio platform.
Before we can access it, we need to provide a public SSH key.
Creating SSL keys is beyond the scope of this tutorial, and you can find out how to create a key with the extensive Github documentation.
 Once the key is installed, we can grab the project locally by running
 divio app setup deno-demo - assuming your app name is Deno-demo.
Once the Divio CLI has set up your project, move to the working directory.
The first thing to note is that the project is empty, containing only an empty Dockerfile.
The Dockerfile describes the commands that Docker should run in order to compose a container. When we deploy to the Divio Cloud, the Divio platform will make use of the Dockerfile in order to build the container.
Creating a Dockerfile
Open the empty Dockerfile and paste the following.
FROM denoland/deno:latest

# The port your application listens to.
EXPOSE 80

# Prefer not to run as root.
USER deno

# The working directory
WORKDIR /app

# Copy contents to the WORKDIR
COPY . .


# Compile the main app so that it doesn't need to be compiled each startup/entry.
RUN deno cache webserver.ts

CMD ["run", "--allow-net", "webserver.ts"]
The first line instructs Docker which container image we want to use – in this case, the latest Deno docker image from the official Docker image repository.
When launching Deno, we provide a user with limited access rights as best practice – using a limited user to minimise security risks.
We then describe the port we want to use, where Deno should respond to requests. It’s important to note that this is inside the container.
The work directory refers to where the app should reside within the context of the container. The Copy command copies the content of the build to the specific work directory.
Finally, we describe the task we want Docker to run, in this case, some Typescript with our app logic, webserver.ts which we will create. The parameters —- allow-net gives our app permission to use networking.
Creating a Docker Compose File
In order to run the container locally, we need to create a docker-compose.yml file. The docker-compose.yml file is intended to describe the services an app might comprise, such as a web service and a database.
Create a new docker-compose.yml file in your app directly and open it for editing.
You can paste the following contents to give us a minimal viable setup.
version: "2.3"

services:

 web:
   build: .

   ports:
     - "8000:80"
The services describe what our app consists of and we simply want to build our web service.
It's also important to consider that the Divio platform disregards the docker-compose.yml file and uses its own equivalent to associate services together. For example, if you provision a database on the Divio platform, it is automatically associated with your app.
Creating a Minimal Deno App
We first create the file we have referred to in our Dockerfile in our working directory .touch webserver.ts
Open the freshly created webserver.t and paste the following.
const server = Deno.listen({ port: 80 });

for await (const conn of server) {

  console.log(`Servicing a connection at ${new Date()}`);

  serviceConnection(conn);
}

async function serviceConnection(conn: Deno.Conn) {

  const httpConn = Deno.serveHttp(conn);

  for await (const requestEvent of httpConn) {

    const requestBody = requestEvent.request.headers.get("user-agent") ?? "Unknown"

    requestEvent.respondWith(
      new Response(requestBody, {
        status: 200,
      }),
    );
  }
}
This minimal Deno app waits for incoming HTTP connections and handles them asynchronously, simply responding with the user-agent where available.
Building Our Container and Running a Deno App
We now need to build our container and test it locally before deploying it to the cloud.
docker compose buildOnce our container is built, we can deploy the container to Docker locally and begin testing.
divio app upAs we specified in the Dockerfile, our app is listening to port 80 within the container, and we had exposed port 8000 that we can then point a browser at
http://0.0.0.0:8000/Deploying a Container to the Divio Cloud
When we created our project, the Divio platform automatically created a Git repository. In order to deploy to the cloud, we must first commit and push our changes to our repo.
We can add our webserver.ts to our repository with git add webserver.ts
Commit and push the changes in the usual way
git commit -m "tutorial"
git push
We can now tell the Divio platform to build our container and deploy the Deno app to our test environment.
divio app deploy testYou can find the URL to the service from the Divio Control Panel.
Deno is created with security in mind, such as vetting third-party modules and granting access rights. With the scalable resources available on the Divio Cloud, secure-by-design approach and opinionated approach to best practices, Divio is well suited to developing and running Deno apps.
Easily Deploy a Container to the Cloud
The Divio platform supports Deno and any other container-based platform, providing enterprise-grade multi-cloud hosting and powerful developer tools. Teams can move seamlessly from local development to preconfigured cloud-based environments using one consistent command line tool.
Contact us to learn more.